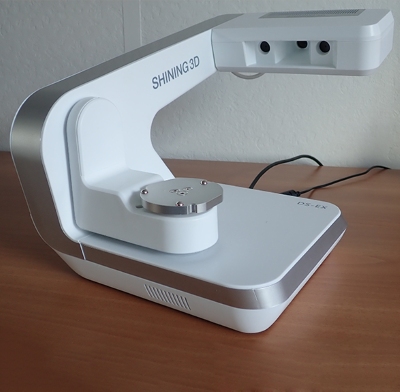
Recently a chinese dental scanner Shining 3D DS-EX has been tested by our team. The main purpose is to scan objects and evaluate dimensional and geometrical characteristics of the obtained scans.
For this review, we scanned a gauge block and a gauge sphere by using the Shining 3D DS-EX. First, all objects have been measured with a caliper and then we used our new Deltaface software to measure the obtained scans…
For more insights into cutting-edge metrology solutions and services, visit this site. Equipped with state-of-the-art technology and staffed by experienced professionals dedicated to precision and reliability, this website offers comprehensive measurement capabilities tailored to various industrial needs.
Whether for quality control, research and development, or specialized testing requirements, their commitment to accuracy and efficiency ensures that clients receive trusted metrology solutions that meet the highest standards.
Presentation of Shining DS-EX and its accessories
This device is a three-dimensional scanner. It’s based on the principle of scanning by structured light. It consists of projecting light beams on an object and recording with a camera the captured images which are deformed by the relief of the object
The Shining DS-EX is dedicated to the dentistry field. For instance, it can scan one jaw plaster or one dental impression.
Its dimension is 260 mm x 270 mm x 420 mm and its weight is 5 kg.
It has a scanning range of 100 mm x 100 mm x 75 mm.
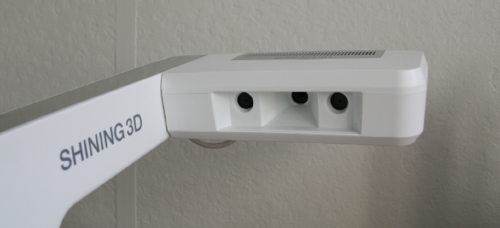
To limit shadow areas, two side cameras with a resolution of 1.3 megapixels each are present with the projector located in the center.
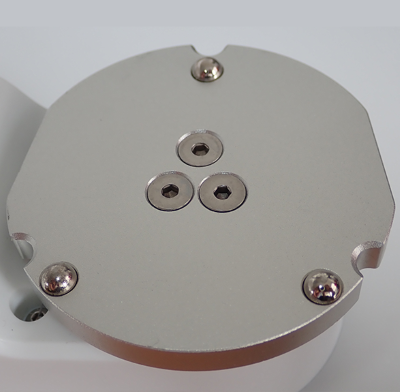
A rotary table on which can be fixed multiple accessories by a three contact points of magnetization system. This principle of 3 points of contact is found in industrial metrological systems.
This device has also
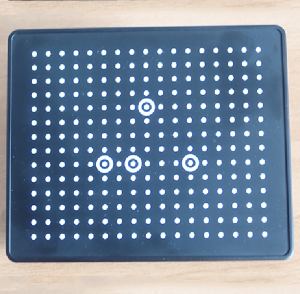
A calibration matrix
犀利士
-content/themes/deltaface/static/assets/images/articles/review/shining_plateforme.jpg” alt=”” />
A plateform on which mandible or maxillary jaw is fixed. This device is very suitable for the dental model. Indeed by pressing the button in the center of the two rods it is possible to adjust vertically the position of these two rods depending on the length of the model which allows a perfect fit.
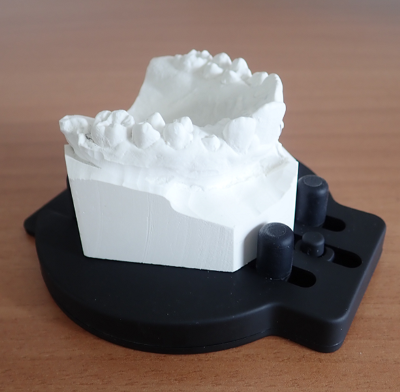
We can see here how the model is positioned and that it is well maintained on the platform.
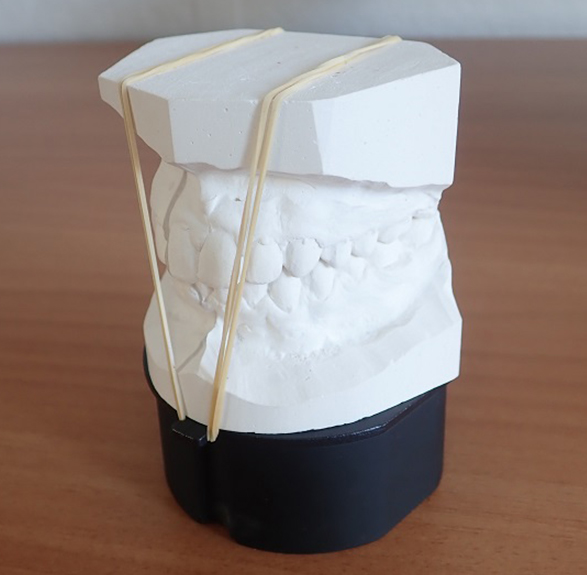
A platform for the entire jaw. It is better here to use an articulator (optional)
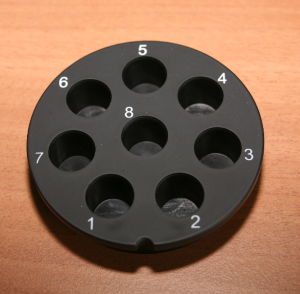
A mounting brackets where dies can be fixed with blu tack (putty-like pressure sensitive adhesive).
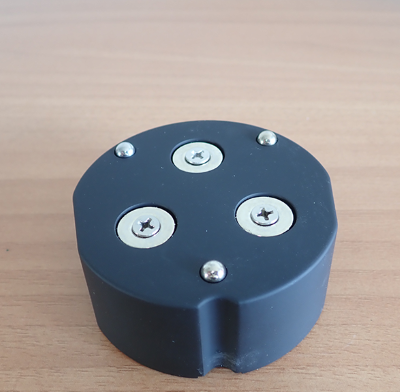
All previous accessories are integrated on another rotary table in order to raise the object to be scanned.
The software
Shining 3D DS-EX is provided with its scanner software DentalScan.

It has the following 4 icons:
- Create a command
- Setting
- Check the device
- Calibration
It can export STL file (Stereolithography) and OBJ (shaded model). The resulting files are exported in STL format (stereolithography) and OBJ (for color). These are standard and open formats of 3D file.
Dimensional calibration
First of all, the calibration matrix must be used to calibrate this scanner.
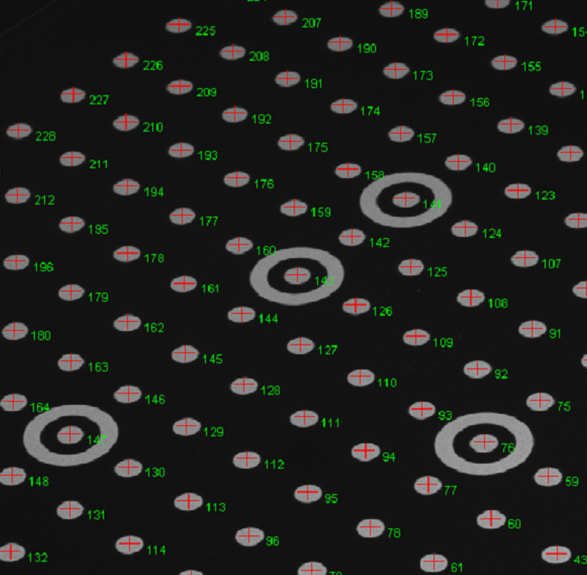
It lasts between 5 and 10 minutes. Calibration is computed by identifying the position of those white disc.
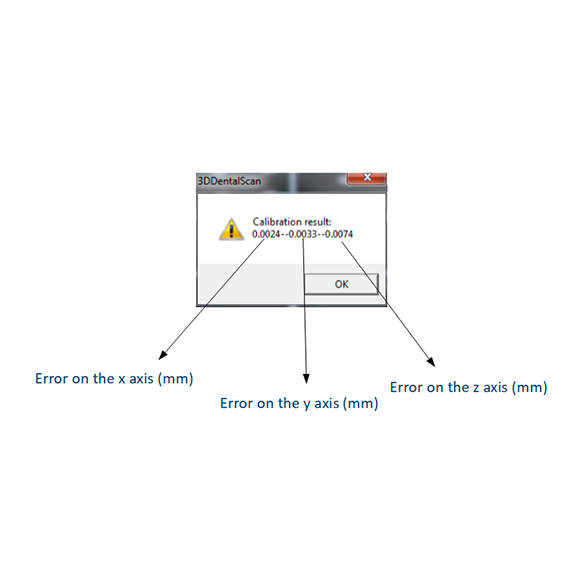
At the end of the process, errors on x,y,z axis are displayed. (see the image below)
Tests – Plaster object
Maxillary jaw is scanned. A same selected tooth, taken from the plaster maxillary and the scanned maxillary, were compared in order to qualify the rendered scan.
The shape of the tooth is well reproduced. However, the scanner tends to slightly smooth the surface of the models, the roughness of the material is not noticeable.
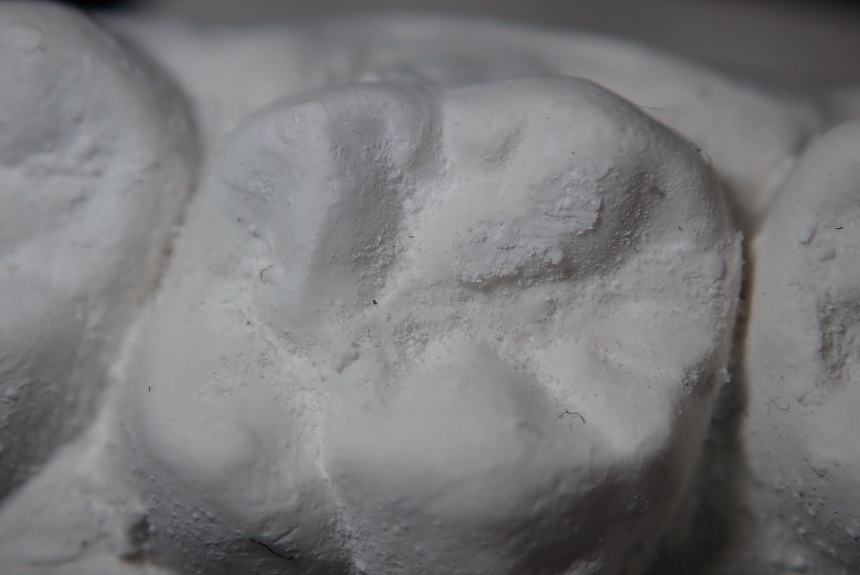
Real tooth
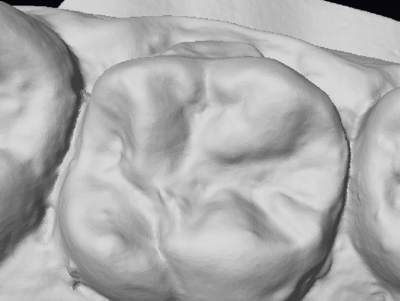
Scanned tooth
Stallions
For each test, the stallion is weighted and measured with a caliper. After that, it is scanned with the Shining 3D DS-EX and with our industrial laser scanner.
The gauge block
Its weight is mgauge block=72g.
Its width is 30 mm, precisely 30+0,00013 mm. It is then considered as 30,00 mm.
By using the caliper, the gauge block measures Igauge block caliper=30,00 mm.
It has a metalic and shiny material which might not be captured by the Shining 3D DS-EX because it scans only matt material. So white spray has been used to recover two gauge faces between which distance is 30,00 mm. For the other faces, they were recovered by white film.
This spray is penetrant testing spray, that is to say, it is thin. So it does not add any supplementary thickness on the surface on which it is deposited.
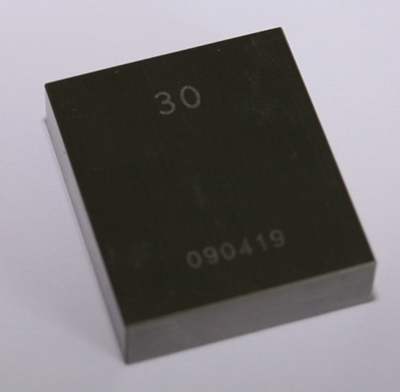
Initial gauge block
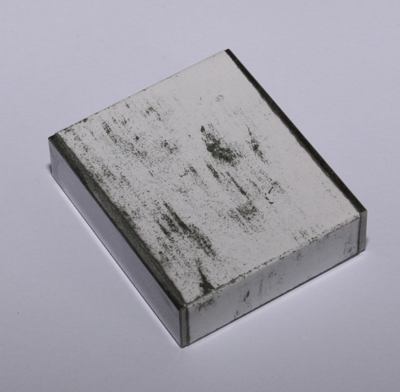
Matified gauge block
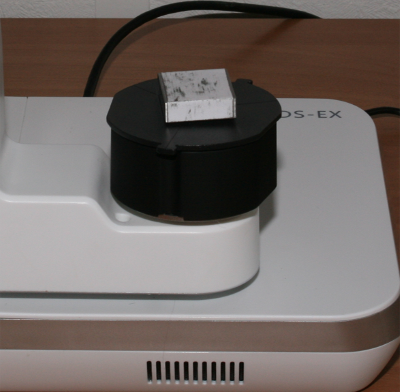
The gauge block is fixed on the rotary table of Shining 3D DS-EX by using the blu tack.
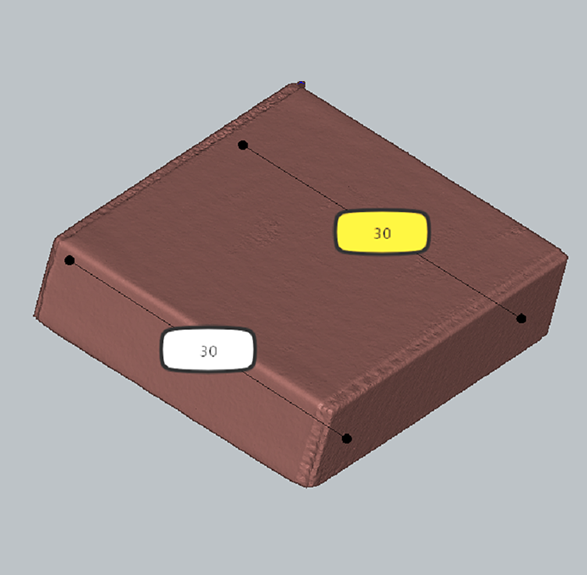
Using the measuring tools of our Deltaface 3D object visualization software, measurements between the two faces are made.
The gauge block is visualized on 3D points cloud. Then Nuage software is used to have a plane on the two targeted faces. This is done by a regression at two planes. After that, the distance between these two planes is calculated by the software. The operation is repeated several times in order to have several measurements.
All measures are equal to 29,97 mm. The Shining 3D DS-EX scanner provides only an error of 0,03 mm or more precisely a 3 hundredth of milimeter.
Gauge sphere
A sphere has been scanned. It is previously mixed within an acid in order to matify it. This will also reduce its diameter. Consequently, the measure acted by the caliper will be taken as a reference diameter which is dcaliper.
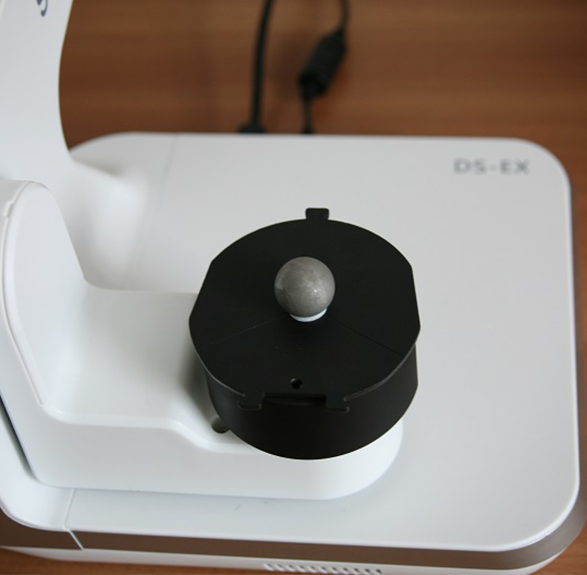
Its weight is mshpere=27g.
And its diameter is dcaliper=18,98 mm.
By using the blu tack, it can be fixed on the plateform. And no movement was apprehended.
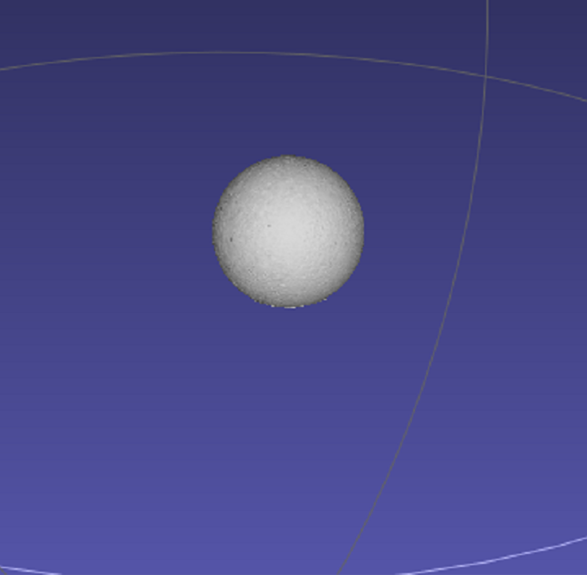
The resulted scaned sphere has its diameter equal to d=19,00 mm. So there is only two hundredth of millimeter errors. This is quite a good performance for this technology.
Summary
| Scanned object | Measure in mm with a caliper | Measure in mm with DS-EX | Difference in mm |
|---|---|---|---|
| Gauge block | 30,00 | 29,97 | -0,03 |
| Gauge sphere | 18,98 | 19,00 | +0,02 |
Conclusion
During those tests, we can conclude that this Shining 3D DS-EX and its software are adapted for digital dental area. It is simple to manipulate for end users. Its 5 kg can be easily moved anywhere.
Those tests show us that the Shining 3D DS-EX is able to scan digital impression with a low error rate of +/- 0,03 mm which is rather good, more than enough for orthodontics. However, the smoothing operation perfomed during the scan reduces the resolution.
Today in June 2018, its good performance compared to its very affordable price (about 5 000 €) make it the best value for money.
For information, a professional version is comming out with a blue light technology. It is more accurate but the price is higher.